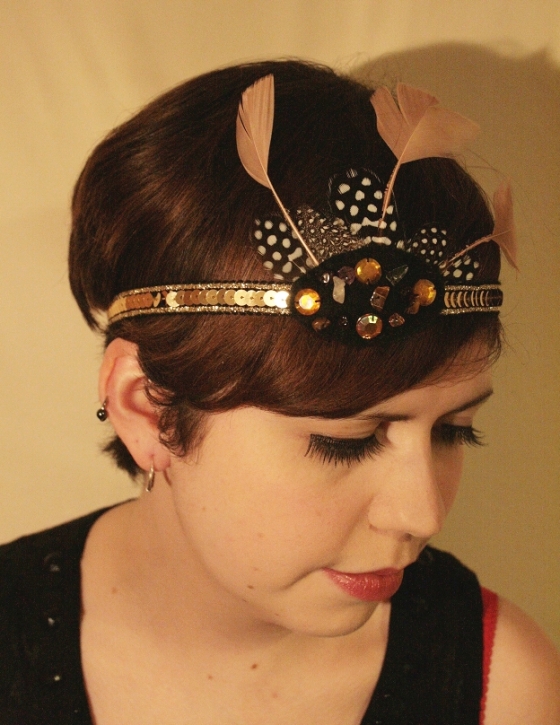
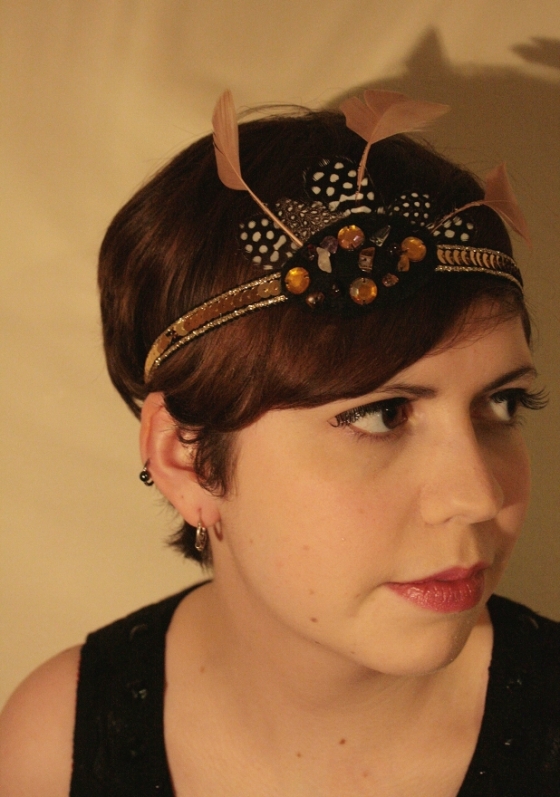
This is a tutorial for a 1920s headband, inspired by the Great Gatsby and all the 1920s fashion at the moment. This headband was for a costume, but you could always use plain ribbon for the band and smaller feathers and it could be something wearable everyday.
Materials:
- Feathers, I used three large and five small
- Two ovals or circles of felt, approx 5cms long, optional: a little extra felt for the ends of the ribbon
- Beads
- Sequin ribbon, approx 40 cm
- Elastic, approx 15 cm, plus 1.5 cm each side to attach to the ribbon (this amount fit round my head securely, but it’s worth trying out how much you need so that it stays up comfortably without being too tight)
- Scissors or craft knife
- Needle and thread (sewing machine optional)
- Glue
Throughout the tutorial I sew almost everything, however if you prefer to glue that should be fine for everything except the final step, where it’s stronger if you sew it.
Steps:
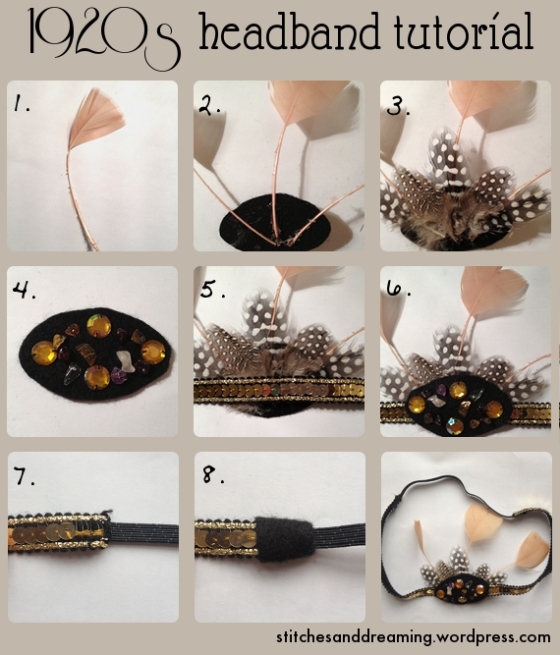
- Cut the bottom ¾ of the three longer feathers away from the shaft so you’re left with the just the top of the barb.
- Attach the three feathers onto one of the felt ovals. I used a glue gun, because I’m impatient but if you don’t mind waiting for it to dry (and would rather not get hot glue on your fingers, as I did a few times!) you could use a glue such as UHU. The feathers might have a slight curve, if so I made sure that they curved towards the table and onto the felt. Also, if you’re using a glue gun, be careful not to get the glue around the edge 5mm of the felt, as it dries hard and you will not be able to sew through it later.
- Attach five of the smaller feathers on top of the larger feathers.
- Attach the beads onto the other oval of felt.
- Attach the middle of the length of ribbon to the middle of the felt oval with the feathers on, if you’re sewing this and have used a glue gun it may be a bit hard, but as long as the ribbon is sewn at the edges it should be fine.
- Attach the beaded oval onto the base and the ribbon, sandwiching the feathers and ribbon in between the two pieces of felt. I sewed around the edge with running stitch but you could over sew it, or glue it.
- Sew the ends of the ribbon to the elastic. I did this on a sewing machine to make sure they were secure, by sewing a couple of lines up and down with the elastic lying on top of the ribbon.
- If the end of the ribbon frays quite a lot, you can add bits of felt where they join to neaten it up.
I was making five headbands all together, so for some of them I made different shapes of the felt, and others I used this tutorial to make curved feathers (it’s the same principle as curling packaging ribbon).
I hope you enjoyed the tutorial, if you make a headband like this, let me know and I’ll put it in a blog post!
(Portrait photographs by David Kingfisher)
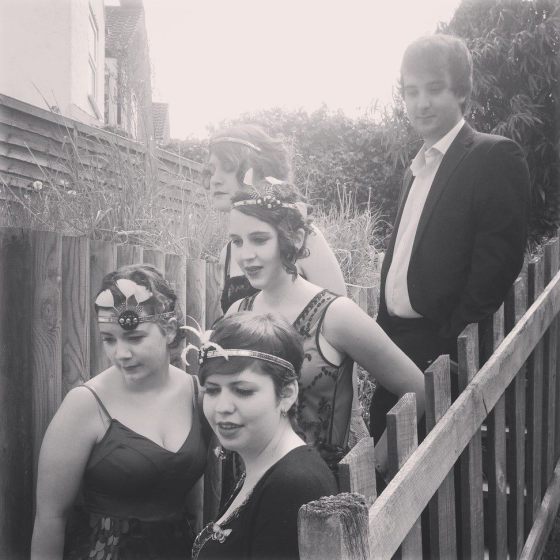
Here’s a final picture of us all dressed up in our costumes!


